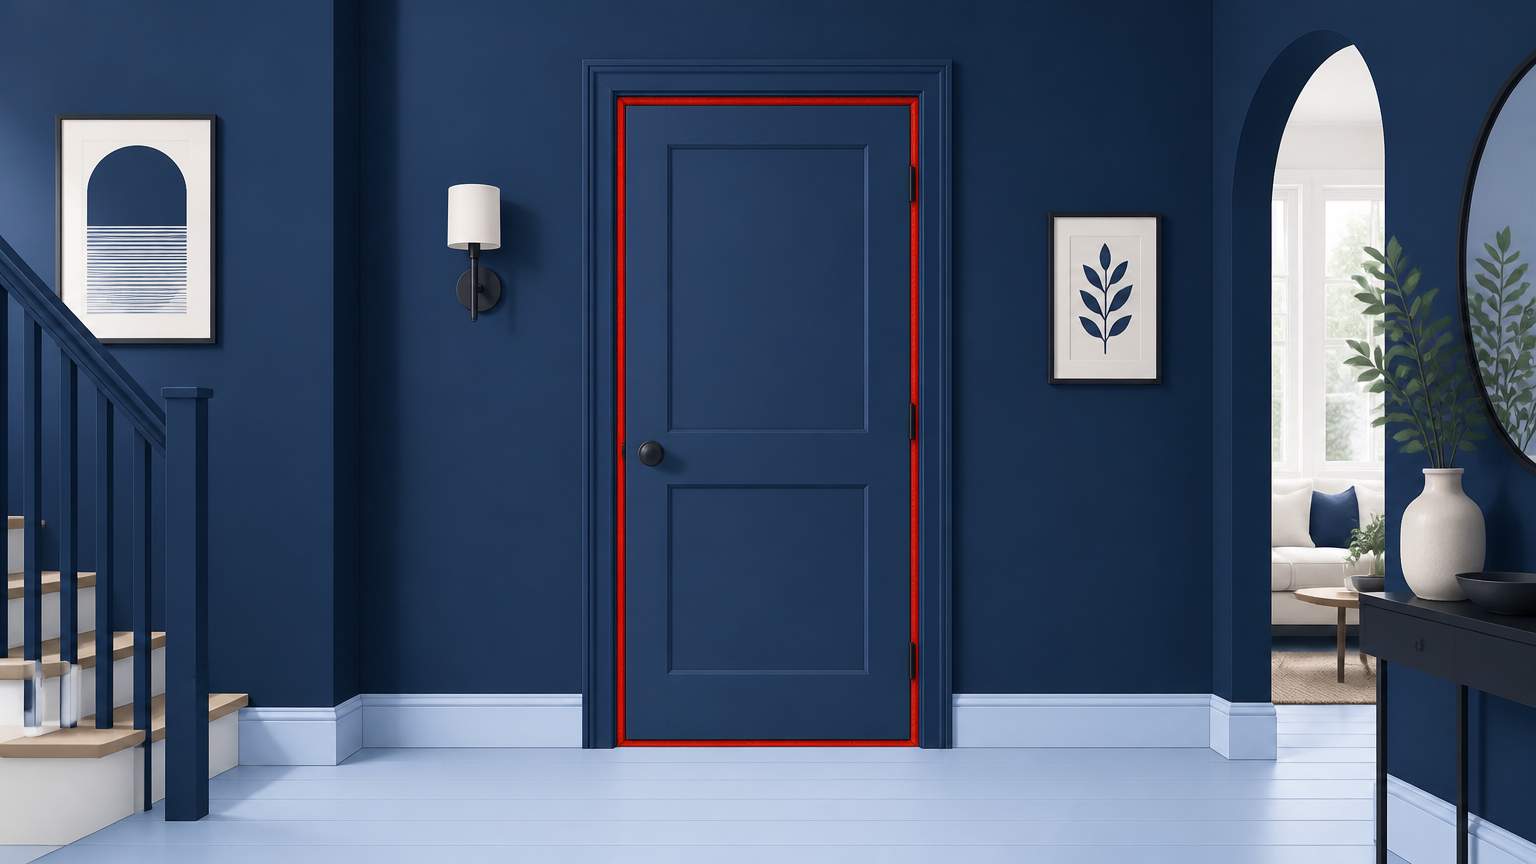
Hurricanes can bring devastating winds, heavy rainfall, and storm surges that may force water and pressure into homes through any weak points. Interior doors often go unnoticed when homeowners prepare, yet they can become entry points for wind-driven rain and pressure, particularly in multi-story homes. Weatherstripping around these doors helps seal gaps that allow drafts and moisture to penetrate, thereby reducing the likelihood of mold and expensive interior repairs after a storm. FEMA advises checking all door seals as part of hurricane season prep, and many find that a quick, inexpensive fix can have a significant impact.
Drafts entering through unsealed doors can create pressure imbalances that push water into a home during storms. When wind hits a door, the air pressure on the outside can surpass that on the inside, driving rain and even storm-surge water through the gaps. Weatherstripping serves as a barrier, keeping the interior dry and limiting the door's role as a weak point in the building envelope. In addition to blocking water, a well-sealed door diminishes the risk of mold growth and maintains a more stable interior temperature, which can reduce energy costs during the summer months. For those who depend on storm shutters or plywood on windows, sealing interior doors is a beneficial step that addresses a vulnerability hidden in the home.
To begin, remove the old weatherstripping using a flat-bladed putty knife or a utility knife, being careful not to damage the jamb. Clean the jamb surface with a mild detergent and a damp cloth, allowing it to dry completely. Measure the length of the jamb and cut a new foam or rubber weatherstripping strip to size. When installing, press the strip firmly into place, ensuring it fits snugly against the jamb and the door edge. If it has an adhesive backing, peel it off and stick it down; if it is a self-adhesive or staple-style strip, use a staple gun or small hammer to secure it. After installation, close the door and check for gaps; adjust or trim the strip as necessary to achieve a snug seal.
A basic kit for replacing weatherstripping will include a utility knife, a measuring tape, a small screwdriver, a staple gun or adhesive, and a roll of foam or rubber weatherstripping. The strip usually costs between $5 and $15 per door, and the job can be completed in under 30 minutes with minimal tools. If the door frame is warped or the hinges are loose, you may also require additional screws or a new hinge to ensure proper closure. For sliding doors, adjusting the rollers can help improve the seal, but that is a separate task to tackle after installing the weatherstripping.
Once the new weatherstripping is installed, close the door and listen for any noises from wind or air that may indicate a gap. You can also run a hand over the jamb to check for drafts. If you find a leak, trim the strip or add a small piece of weatherstripping to fill the space. After a storm, inspect the door for any signs of water intrusion; if water has come in, you may need to replace the strip again or address structural issues. Regular cleaning of the jamb and strip will help maintain the seal's effectiveness and extend its lifespan.
When to call a licensed pro or general contractor
If you find that the door frame is warped or the hinges are broken, or if the door does not close properly post-installation, consider consulting a licensed professional. A general contractor can determine if the door casing or frame must be repaired or replaced, ensuring the door works as intended during high-wind events. However, for many homeowners, replacing weatherstripping is a manageable DIY project that can be done in one afternoon.
.svg)
.svg)

.svg)
