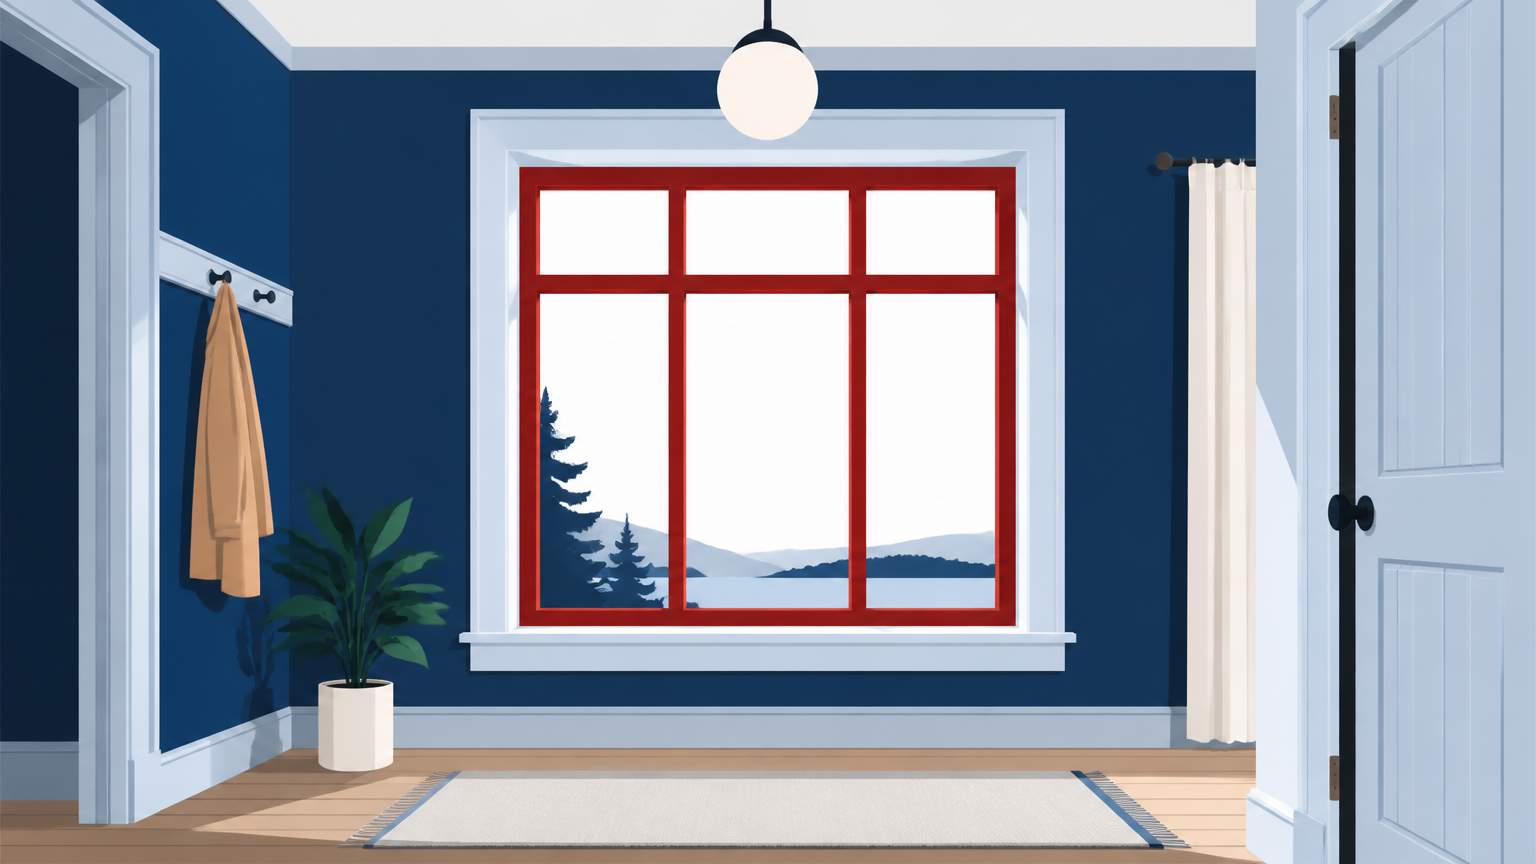
In any older home, swapping out a window often requires careful attention to detail, particularly when it comes to finishing the look. Interior trim not only frames the new window snugly, but also fits into the gap with precision, preventing drafts and moisture from sneaking in. Installing the finish trim correctly ultimately allows you to preserve the original character of a brick exterior while making your space more visually appealing.
The very first task is to measure the dimensions of the space to know exactly how wide and tall the trim must be. Once you have accurate widths and heights, you will then cut the trim pieces accordingly. An adequately sized backer rod needs to fill the gap before final assembly helps it lie flush against the wall. The added stability accommodates good-quality caulk when necessary.
To kick off the process, remove all existing moldings or trim that may still be affixed to the wall using hand tools. Immediately measure width and height around the window in its rough opening to get what is absolutely needed. Be sure to allow about one or two extra millimeters, and account for the opposite wall's age and thickness as appropriately as you can.
Once those measurements are confirmed, slowly use either a miter saw or a hand saw to cut your new piece into those two very precise lengths. A miter cut at each corner would help ensure a neat look at the connection points. Any fallback in measurements will allow flexibility if there still inch or two too short. Assembly should ensure that no gaps remain that could allow airflow.
This will all be followed by using caulk to secure the space between wall and trim. A small bead of a specific interior trim caulk can go around the upper edge that touches the wall and going down the lateral edges vertically. Thankfully, caulk designed for these circumstances has been designed to hold firm as the trim settles and sits without concern for being electrocuted.
Additionally, drilling pilot holes beforehand for nail placement takes care of splitting wood and leaves a smooth finish once those finishing nails or screws have been sunk into the wood snugly. Make sure to check and see if that trim piece sits evenly balanced once installed and, if it does present any issues, use a shim to level. After installing, finish off the trim as necessary within painting or other design if that is called for.
Overall, that's generally what is needed for interior trim to function. Sealing it well with high quality caulk gives you good protection to stave off drafts out of your brick exterior. Fine Homebuilding advises that using both a strand of exterior-grade caulk coupled with flashing on the external edges makes a solid model. Interior assembly can follow that up afterward to add final touches and minimize any drafts coming into the space you are using effectively.
If at any part of the process, the measurements settle irregularly or the structure of the brick house itself raises facial issues, there are certainly pros at the ready if necessary. A full contractor backing things up allows another option, but it does depend on experience handling door hinges and knobs or sliding configurations such as reinforcing the upper end points, if that needs contact adhesive instead.
.svg)
.svg)

.svg)
