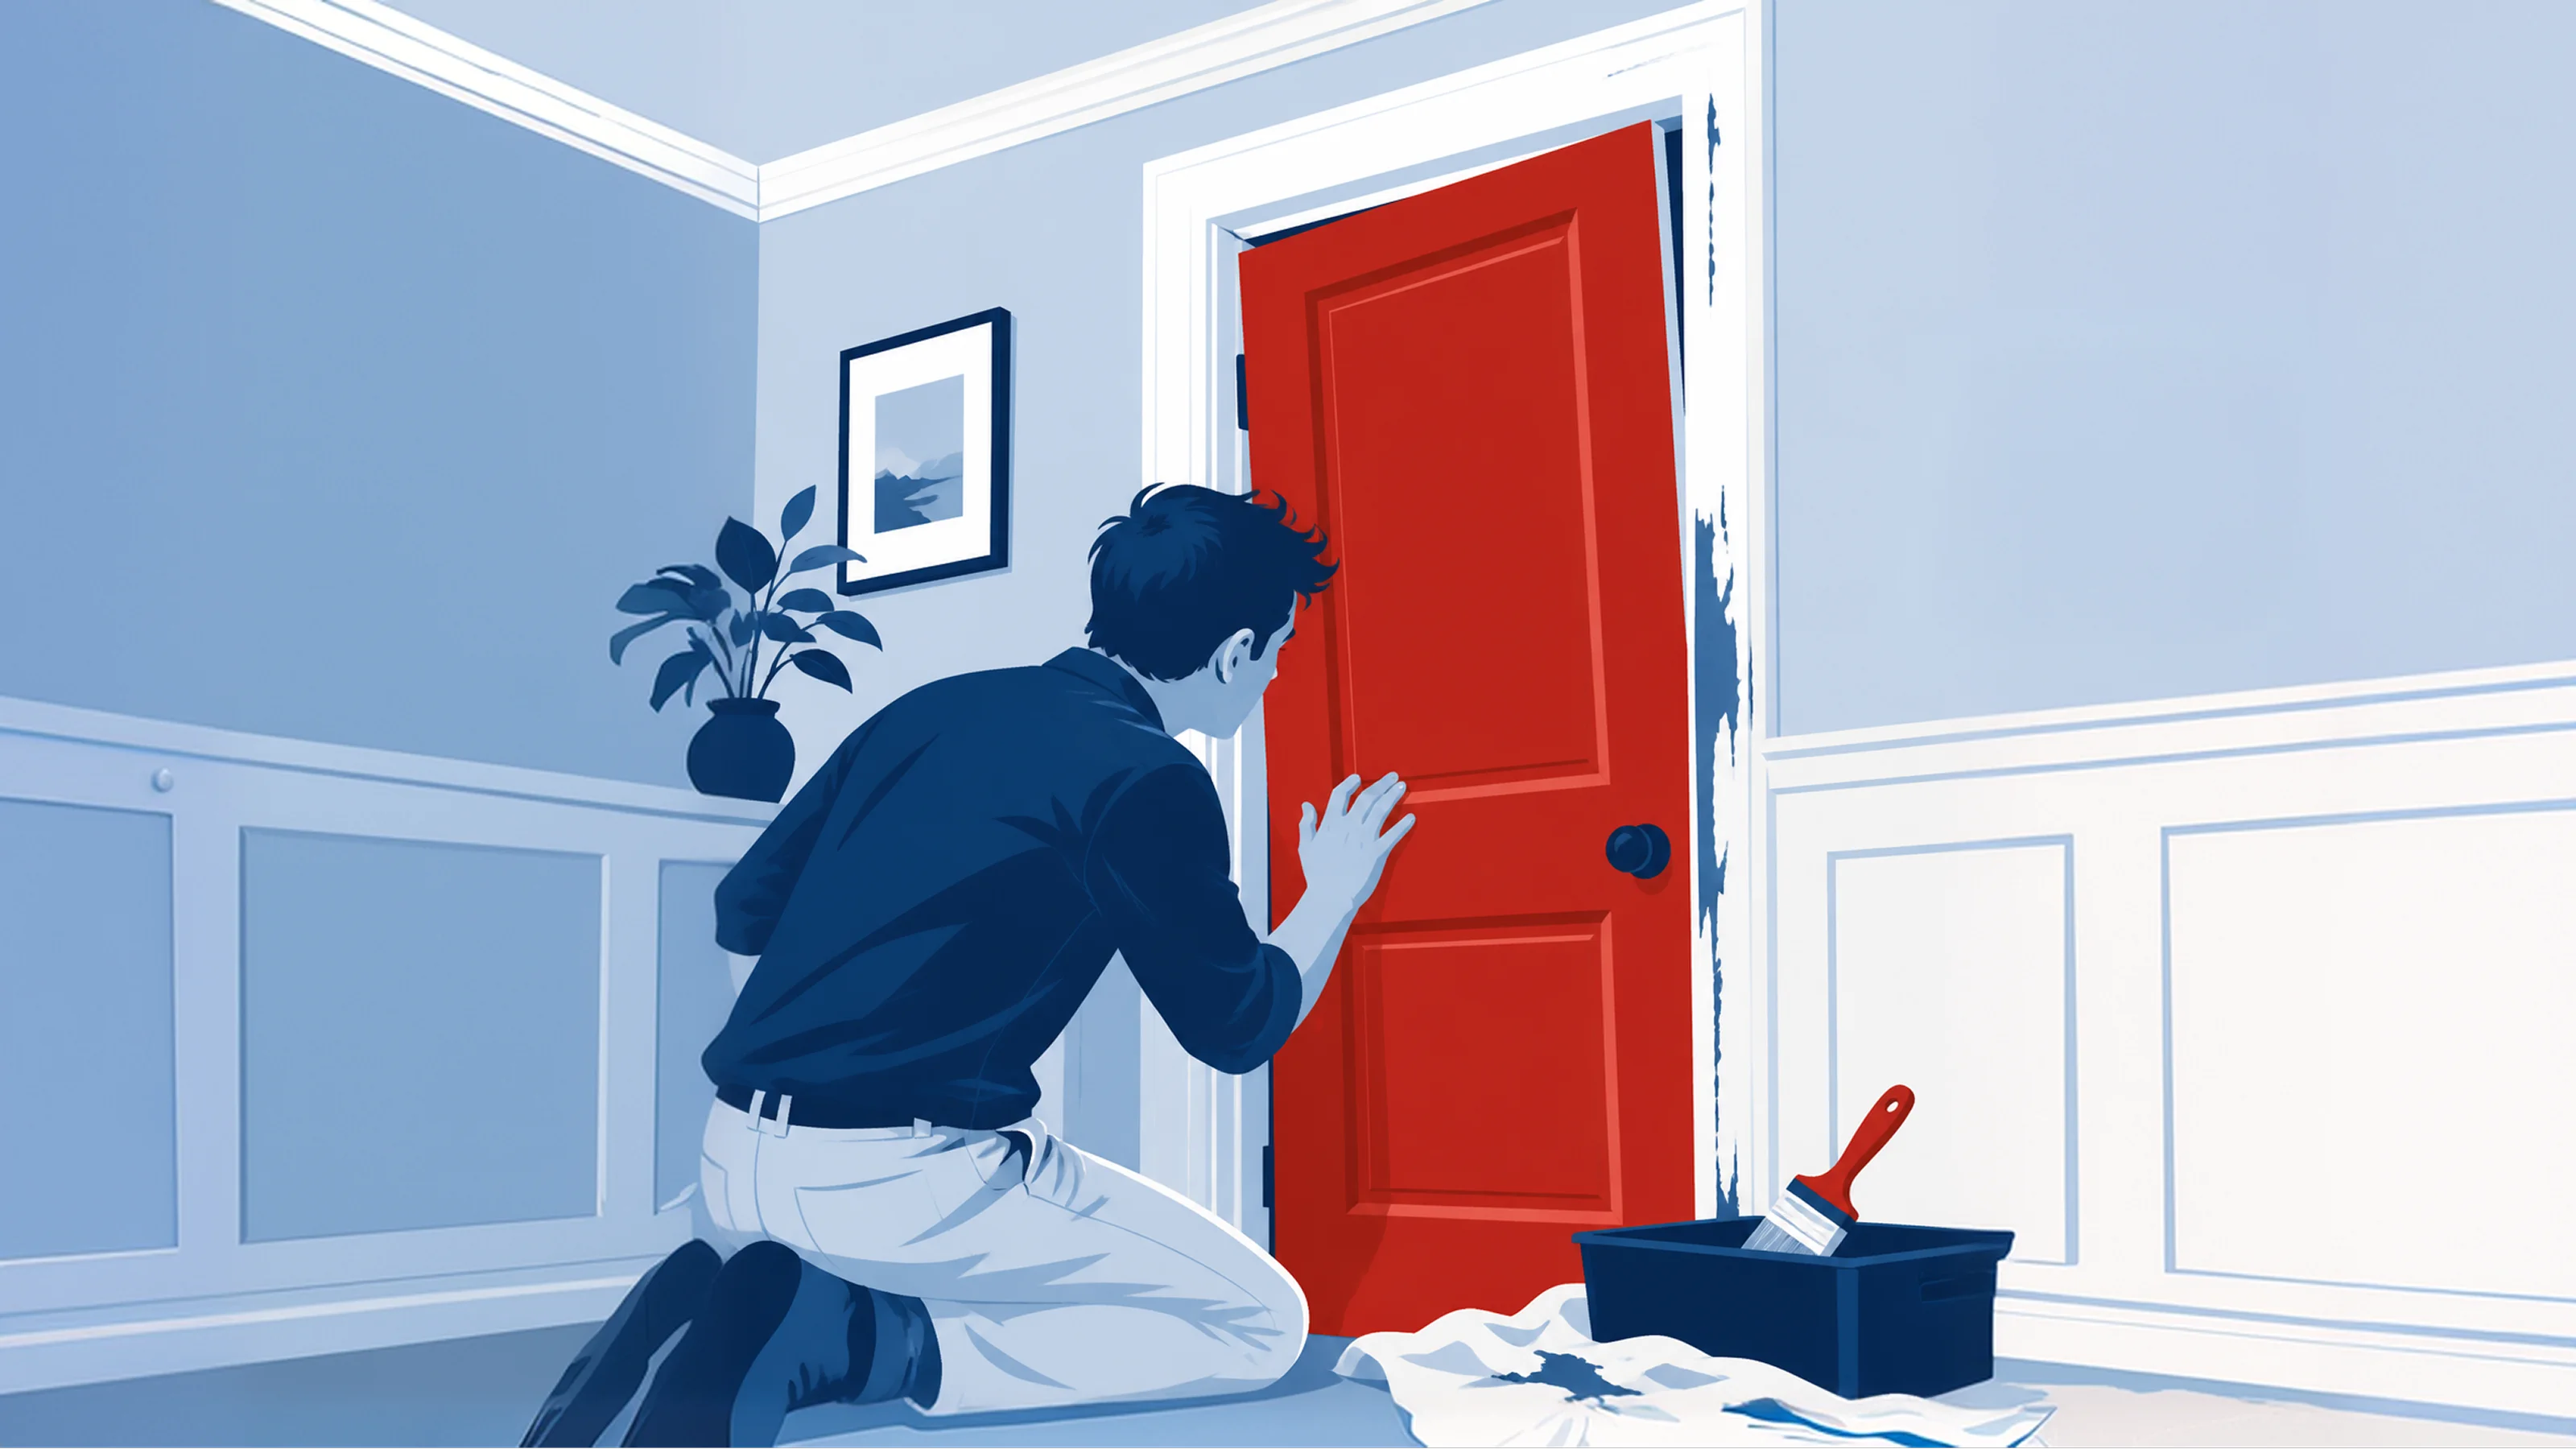
Start by viewing trim and doors as one project for a complete room makeover.Applying paint on the trim will look its best only if the hardware on the doors,including hinges, handles, and any storm or sliding door equipment is properlymaintained. Neglecting these elements can lead to issues that spoil the trim’sfinish. By addressing both areas at the same time, you can save both time andmoney, all while ensuring a uniform appearance.
Before you begin, make sure to have the right tools on hand. A sanding block with220 to 320 grit sandpaper, a flexible 1.5-inch putty knife, painter’s tape, a caulkgun, a paint extender like Floetrol, and a small angled brush are essential items.These tools are useful for the most common tasks involved in door and triminstallation, such as filling nail holes and smoothing edges. The Family Handymanrecommends a sanding block as it keeps the sandpaper flat and distributes pressureevenly, a notable benefit for flat trim surfaces.
To achieve an exceptionally smooth finish, sand lightly between coats.Professionals often use light to moderate pressure and move the sandpaper in acircular or back-and-forth motion aligned with the wood grain. Be sure to vacuumthe dust away and wipe the surface with a tack cloth or slightly damp rag aftereach pass to prevent particles from becoming trapped in the next layer of paint. Ifthe trim has a heavy profile, scrape high spots before hand-sanding to keep theshape intact.
Incorporating a paint extender into latex trim paint can enhance flow and leveling,resulting in a reduction of orange-peel texture. Extenders like M-1 or Floetrol canslightly raise the sheen by a point or two on a 0-10 scale and improve wearresistance by 10 to 15 percent, according to field reports. While subtle, theeffect is important when all trim pieces need to match.
Begin by painting the trim, followed by the walls and ceilings. To blend the trimpaint onto adjacent surfaces without seams, utilize the lay-on/lay-off brushtechnique from Family Handyman. Roll paint along the edges for a consistenttexture, and only cut the tape loose once the paint is fully dry, which preventsbleeding onto the walls and keeps the edges of the trim sharp.
While the paint dries, consider updating the door hardware. Repair door hinges,replace door handles, and adjust screen door rollers for optimal operation. Ifyou’re installing a storm door or converting a single-panel door to a sliding door,this should be done before the trim paint sets completely. For group doors, installstorm or screen doors while keeping the original integrity of the door frameintact. If replacing a window with a door, install the new trim molding and caulkthe seams to seal the opening. Ensuring the hardware is correctly installed allowsthe trim work to be completed without concern for future adjustments.
Some of this work can be done by a DIYer, while others require a licensedprofessional. Most homeowners can manage basic sanding, caulking, painting, andeasy hardware swaps. But tasks that involve structural door replacement, criticallock installations, or major conversions like changing a door to a sliding doorshould be left to the pros. For help, Home Depot’s install doors service covershouse doors installation and compliance with local building codes.
Wrap up with a check to make sure you've removed painter’s tape, touched up any missed spots, reinstalled all hardware, and cleaned your tools. Following theseguidelines will result in a polished, functional door and trim installation thatholds up over time.
.svg)
.svg)

.svg)
