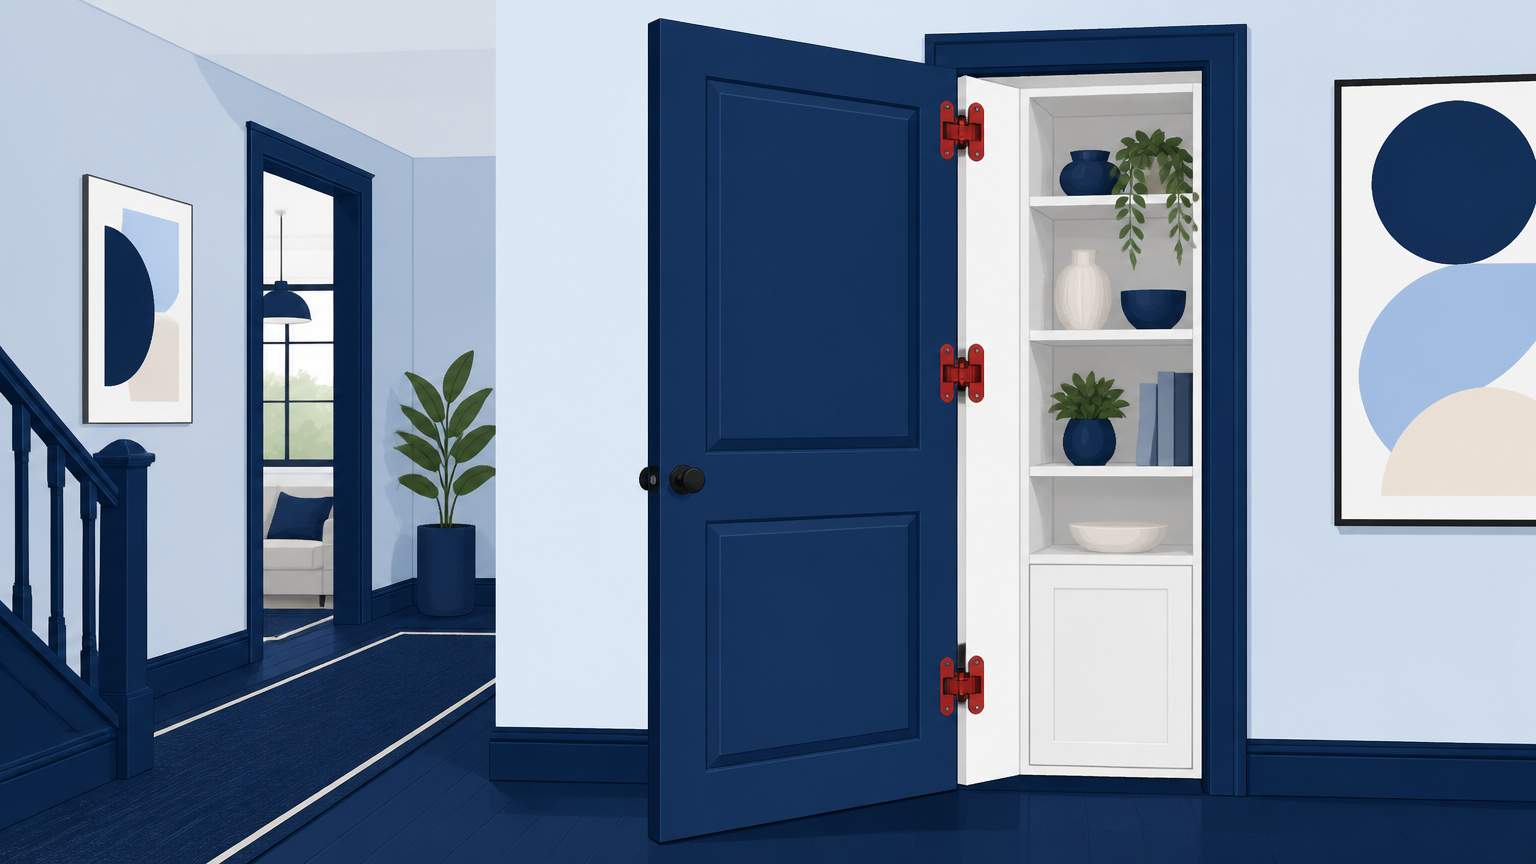
You can transform a regular interior door into a hidden storage space by simply adding a couple of hinges and planning ahead. When mounted on the door's interior side, the hinges allow the door to swing inward, providing access to a concealed cabinet that integrates effortlessly with the wall. This solution creates additional storage for items like remotes, keys, or toiletries without taking up extra space in a small apartment in Florida.
The key to this project is keeping the hardware out of view while ensuring the door remains level. Given Florida's high humidity, using stainless-steel screws and pre-drilled pilot holes can help to prevent stripping and maintain the hinges in place. To finish, a magnetic catch allows the door to be closed flush to the wall.
Begin by gathering a 3-piece hinge kit compatible with a 1¼- to 1½-inch door; most kits are designed for 1⅜-inch doors. You will also need a drill with a 1/8-inch bit, a screwdriver, a level, a measuring tape, and a pencil. For the hidden cabinet, select a lightweight frame that can fit in the door’s interior cavity, as well as a panel that matches the wall’s finish. Weatherstripping tape will help in sealing gaps and reducing drafts, while a magnetic catch keeps the door closed without visible hardware. If you intend to include a small shelf inside, some screws and a drill bit should suffice.
Measure the thickness of the door and make marks for the hinge positions on the interior side. Use a level to check that the marks are even. Drill pilot holes at the marked locations and fasten the hinges with stainless-steel screws. The screws must be long enough to reach the door’s core but not so long that they protrude into the cabinet frame. After the hinges are secured, attach the cabinet frame to the door in alignment with the hinges, ensuring the door swings smoothly inward. Install weatherstripping all around the door’s edges, then fix the magnetic catch to the cabinet frame. Finally, check the door’s movement; adjust the hinges if necessary to create an even swing.
In Florida, the climate can lead to wood swelling, which could misalign the door over time. To address this, use a level during the installation process and double-check the level after affixing the hinges. If the door tilts, make slight adjustments to the hinge screws or add a small shim behind the hinge plate. A shim can be a thin piece of plywood or a commercial hinge shim to help adjust for wood expansion.
Moisture is another important factor to consider. Make sure to seal the hidden cabinet’s interior with a thin layer of paint or clear sealant to block damp air from reaching the wood. If the cabinet is to hold items that could leak, lining the interior with moisture-resistant material like plastic or waterproof fabric may be wise. A small vent or moisture-absorbing packet can also assist in controlling humidity.
For doors that are positioned near kitchens or bathrooms, ensure that any gaps around the cabinet are sealed with high-quality caulk. This can prevent water vapor from entering the cavity and decrease the likelihood of needing drywall crack repair later. Additionally, installing a continuous strip of weatherstripping around the door’s frame will help to block drafts and keep the interior cooler, which is particularly helpful during Florida’s hot summers.
When to Call a Licensed Professional
If the door’s frame sustains damage, if the wall needs to be cut to create a larger cabinet cavity, or if the project requires electrical work for lighting or a smart lock, consulting a licensed contractor may be the best option. However, a skilled homeowner can safely and affordably handle routine hinge installation and weatherstripping.
.svg)
.svg)

.svg)
