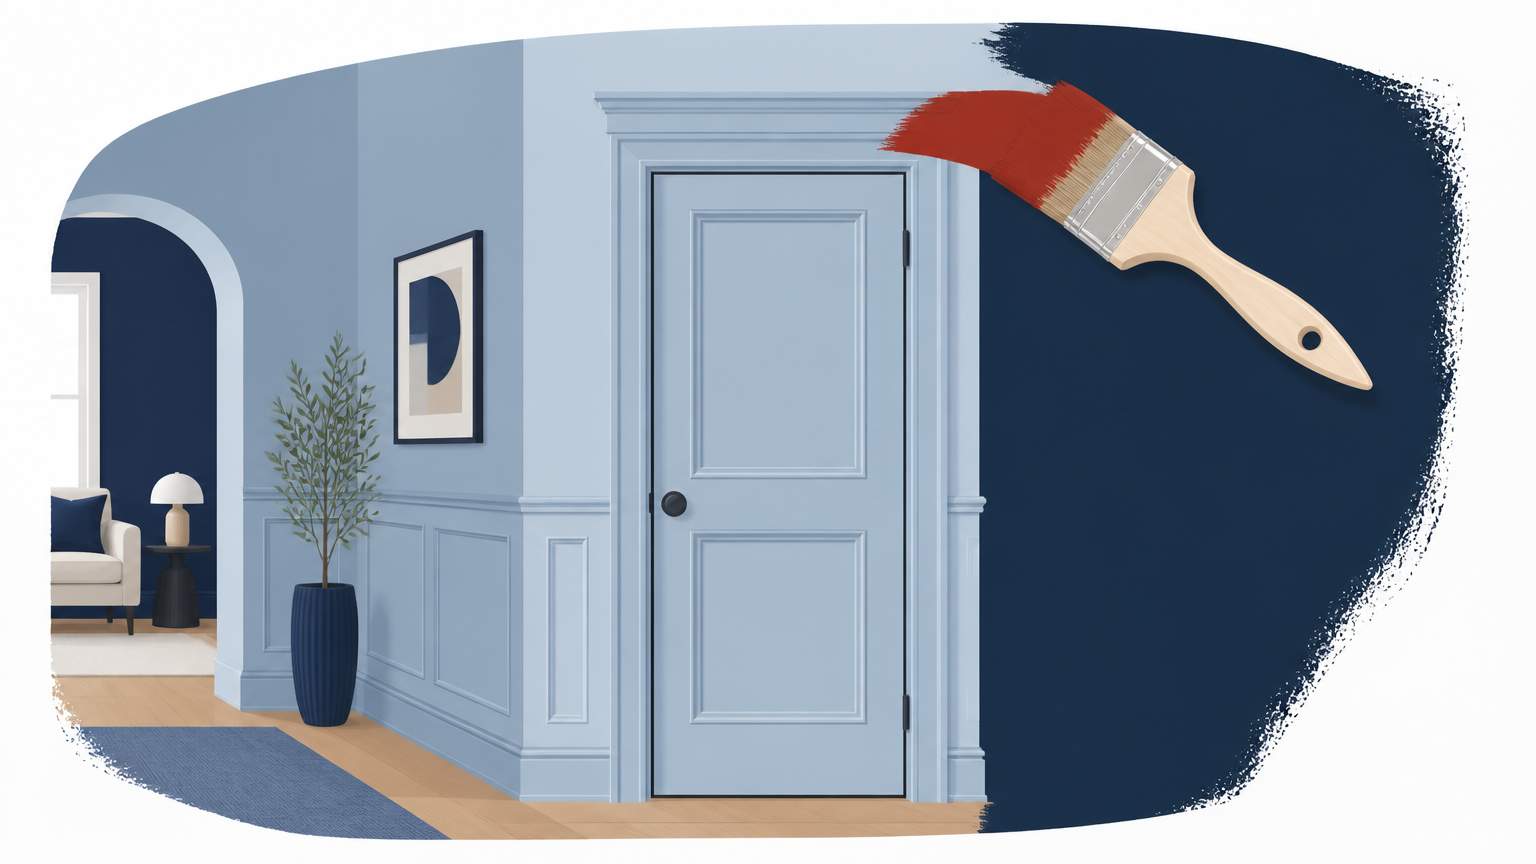
The first impression of a room often comes from the trim around the windows. Properly finished interior window trim can enhance a space, while poorly maintained trim may give it an unfinished feel. In Florida, where humidity can infiltrate any area, choosing the right material and ensuring a quality seal are as critical as the color itself. This guide provides detailed steps for installing trim that will withstand moisture, retain its color, and complement your door hardware for a polished appearance.
Begin with the selection of a moisture-resistant material. Options like PVC and composite trims are designed to resist swelling, while pre-treated wood can work if you prefer a natural aesthetic. Cut the trim to fit the window opening, with a standard 2-inch profile suitable for most rooms.
You will also need a suction lifter or a painter’s pole to hold the trim in place while nailing, allowing you to work from the ground instead of a ladder. Other necessities include a quality nail set, a level, a measuring tape, and a circular or miter saw. If you are also installing trim around a door, keep the same profile to create a cohesive look for all openings.
Before attaching the trim, place a back-dam flashing strip along the inner edge. This small strip of flexible material prevents moisture from seeping behind the trim and into the wall cavity, which is crucial in Florida’s heavy rain.
Once the trim is securely in place, the next step is sealing. Use a high-quality primer specifically made for moisture-prone areas. This primer will seal the surface and provide a solid base for paint. After the primer dries, apply a paint that suits your interior color scheme. Semi-gloss or satin finishes are ideal for trim, as they resist fingerprints and are easier to clean. Two coats are recommended, allowing sufficient drying time in between, to ensure durability and an attractive sheen.
For a coordinated look with your door hardware, consider matching the trim color to the finish of American Doors handles or the door itself. For instance, a warm wood trim could complement a brushed nickel handle, while a crisp white trim could enhance a black door handle. When installing a new door or replacing a window, use the same trim profile for consistency throughout the room.
After painting, wipe the trim with a damp cloth to remove dust or fingerprints. Check the seams for gaps; if any are found, fill them with a flexible caulk and allow it to cure before applying another coat of paint. This final step will ensure that moisture cannot seep into the wall behind the trim.
If you have any doubts about the flashing or local building code requirements for trim installation, consider consulting a licensed contractor. A professional can confirm that your installation meets Florida’s standards and help you avoid expensive repairs in the future.
.svg)
.svg)

.svg)
