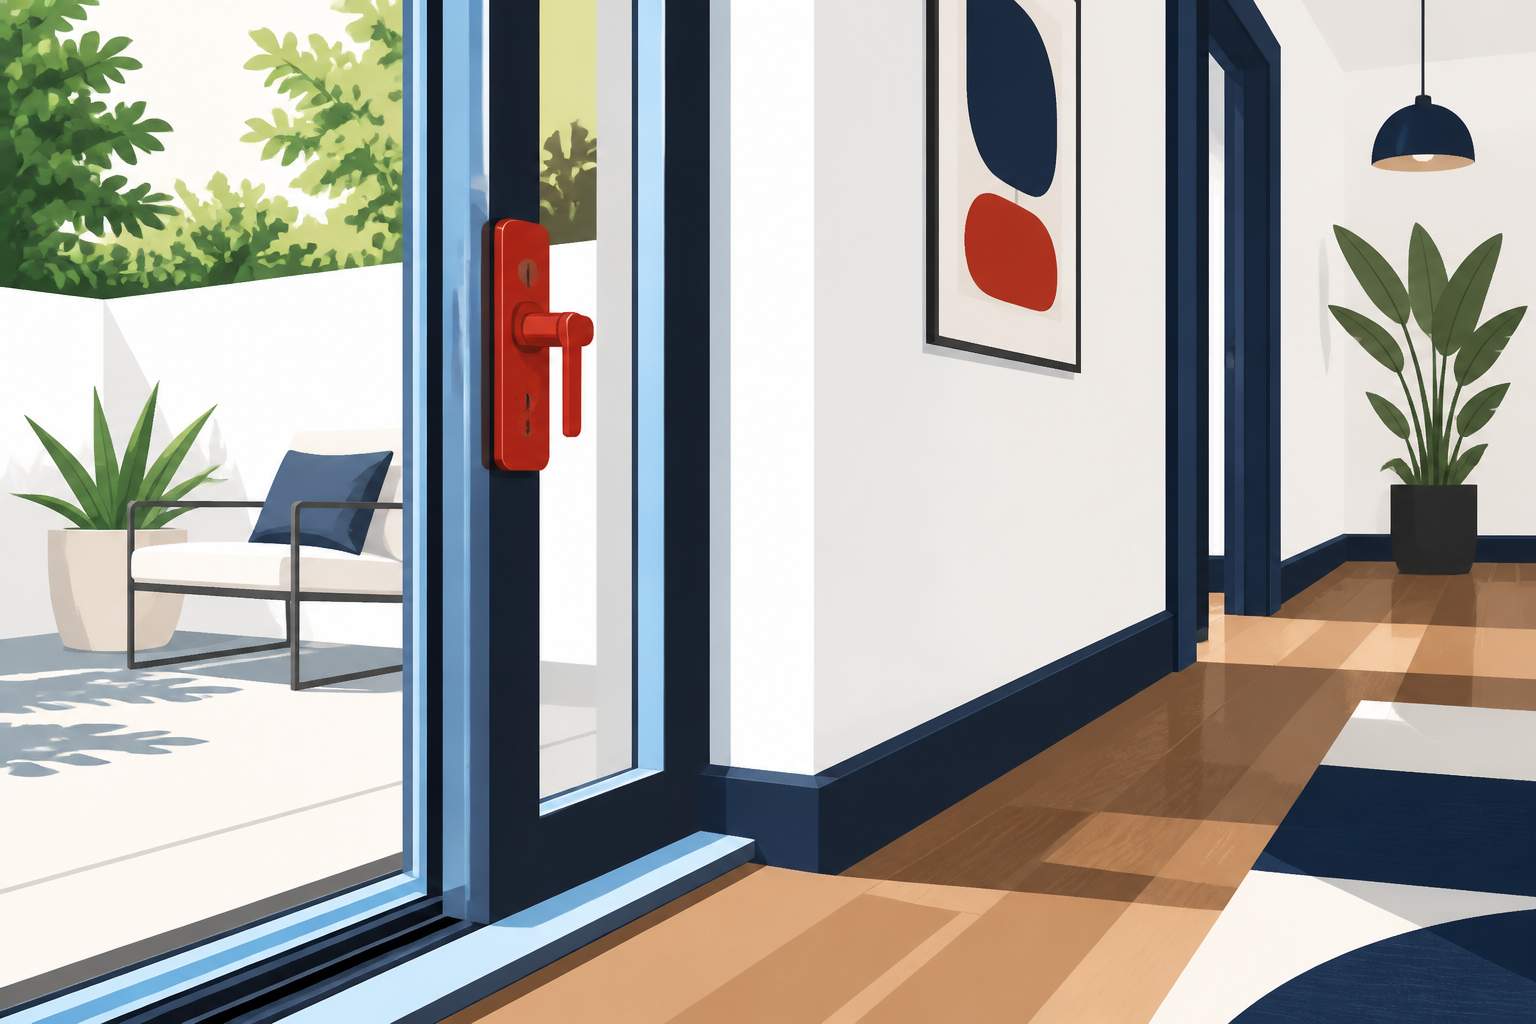
Sticking sliding patio doors can be a headache, especially in Florida's humid environment where debris accumulates quickly. Dust, algae, and salt can clog the tracks, making the door difficult to open and close. This can also lead to air leaks, increasing your cooling costs. Fortunately, a simple, hands-on repair can fix the issue and improve your door's performance.
The most likely cause is a dirty track. Dust and debris can disrupt the smooth operation of the rollers, causing the door to stick. When the door is forced open, it can also wear down the weatherstripping, allowing warm air to seep in. This can raise your cooling load, resulting in a higher electric bill. Regular cleaning and proper sealing are essential to keep the door functioning well.
Start by removing the door from its frame. This may not be possible with all designs, but if it is, it will make cleaning easier. Use a vacuum or a soft brush to clear out the tracks. Apply a silicone-based lubricant to the rollers to reduce friction and prevent future sticking.
Next, check the weatherstripping for any cracks or gaps. If it’s damaged, replace it with a new continuous seal that matches the door's profile. Installing the new strip is a basic door casing installation task: slide it into the track, trim off any excess, and press it into place.
Finally, swap the old lock and handle for a new set. A modern lock not only enhances security but also reduces any sticking caused by warped or corroded hardware. Replacing it is straightforward: remove the old latch, align the new one, and secure it with the provided screws.
Once the door is back in place, test its glide and seal. Open and close it several times to ensure it operates smoothly and that the new weatherstripping stays in place.
.svg)
.svg)

.svg)
